Deploying a NodeJS app
-
 Inteleto
 - 03 Feb, 2025
The first step before going to production is deploying your NodeJS app somewhere available, secure and fast. There are multiple ways of doing it, some requiring more effort, others being completly automated. This article covers the most recommended way of doing it, and we’ll be very practical by creating a demo NodeJS application that connects to a database and actually works and then providing detailed instructions to deploy it.
NodeJS application
For this article, we’re gonna use an example application that provides an HTTP API to insert and list accounts.
You can see the very short dependency list in package.json :
{
  "name": "nodejs-example",
  "version": "1.0.0",
  "main": "index.js",
  "license": "MIT",
  "type": "module",
  "dependencies": {
    "body-parser": "^1.20.3",
    "express": "^4.21.2",
    "mongodb": "^6.13.0"
  }
}
And the entire application fits in this unique index.js file:
import bodyParser from "body-parser";
import express from "express";
import { MongoClient } from "mongodb";

const database = new MongoClient("mongodb://localhost:27017");
await database.connect();
const userCollection = database.db("main").collection("users");

const app = express();
app.use(bodyParser.json());

app.get("/users", (req, res) => {
  userCollection.find().then((users) => {
    res.json(allUsers);
  });
});

app.post("/post", (req, res) => {
  userCollection.create(req.body).then(() => {
    res.status(201).send();
  });
});

app.listen(8080);
Simple, right? One route to list the users from the database, another to create a new user. Of course we’re not doing payload validation, error handling nor CORS, but this is meant to be a simple example.
If we simply run this using node index.js, we can test it using Postman.
Creating a Docker container to run the application
The next step is to create the instructions to build a container image that could run on any environment that supports it. This is really simple for a NodeJS application. The file that instructs the image creation is Dockerfile
# We start from the NodeJS official image
FROM node:20

# The default directory will be /app (inside the container)
WORKDIR /app

# Copy the package.json and yarn.lock (or package-lock.json if you're using npm)
# That's only what we need to install the dependencies
COPY package.json .
COPY yarn.lock .

# Install the dependencies
RUN yarn install

# Copy the rest of the application
COPY . .

# The command to run the application
ENTRYPOINT [ "node", "index.js" ]
Now we can test it locally to make sure it works (and try accessing on port 8080). First, we need to build the Docker image locally, and for this you need the Docker environment installed in your machine.
The, we can run the command to build the image:
docker build . -t my-node-app:latest
This will create a docker image with the tag my-node-app:latest. Next, we can run a container based on that image:
docker run --rm -p 8080:8080 my-node-app:latest
Then we can access the application on http://localhost:8080.
Deploying to production
Now that we have everything ready and pushed to GitHub, we can easily deploy it in a scalable, secure and highly available infrastructure. That is the easiest step.
Integrating your account to GitHub
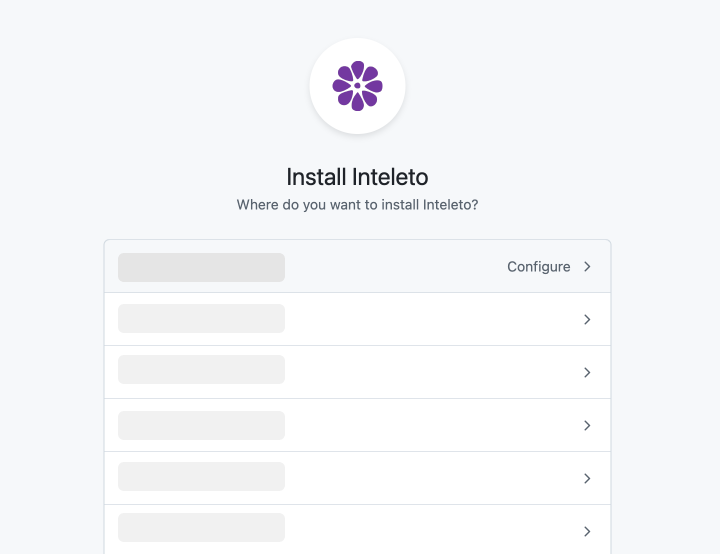
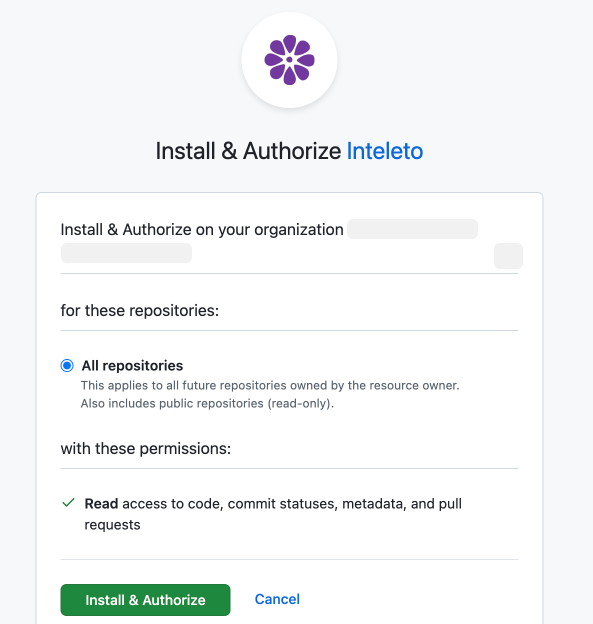
After having your account created on inteleto.com, you can click on Deploy app in the app tab and click on connect to GitHub. Then, we can install Inteleto’s GitHub app to our profile, and allow the necessary repository.
Creating the app
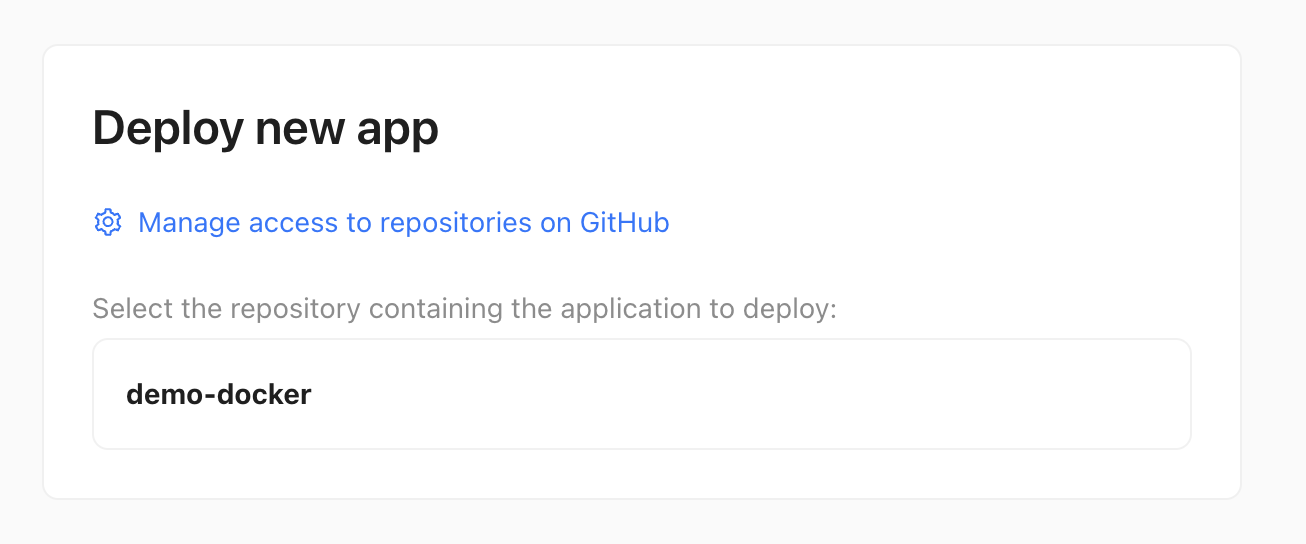
Then, we select the repository from the list:
And change the HTTP port number accordingly:
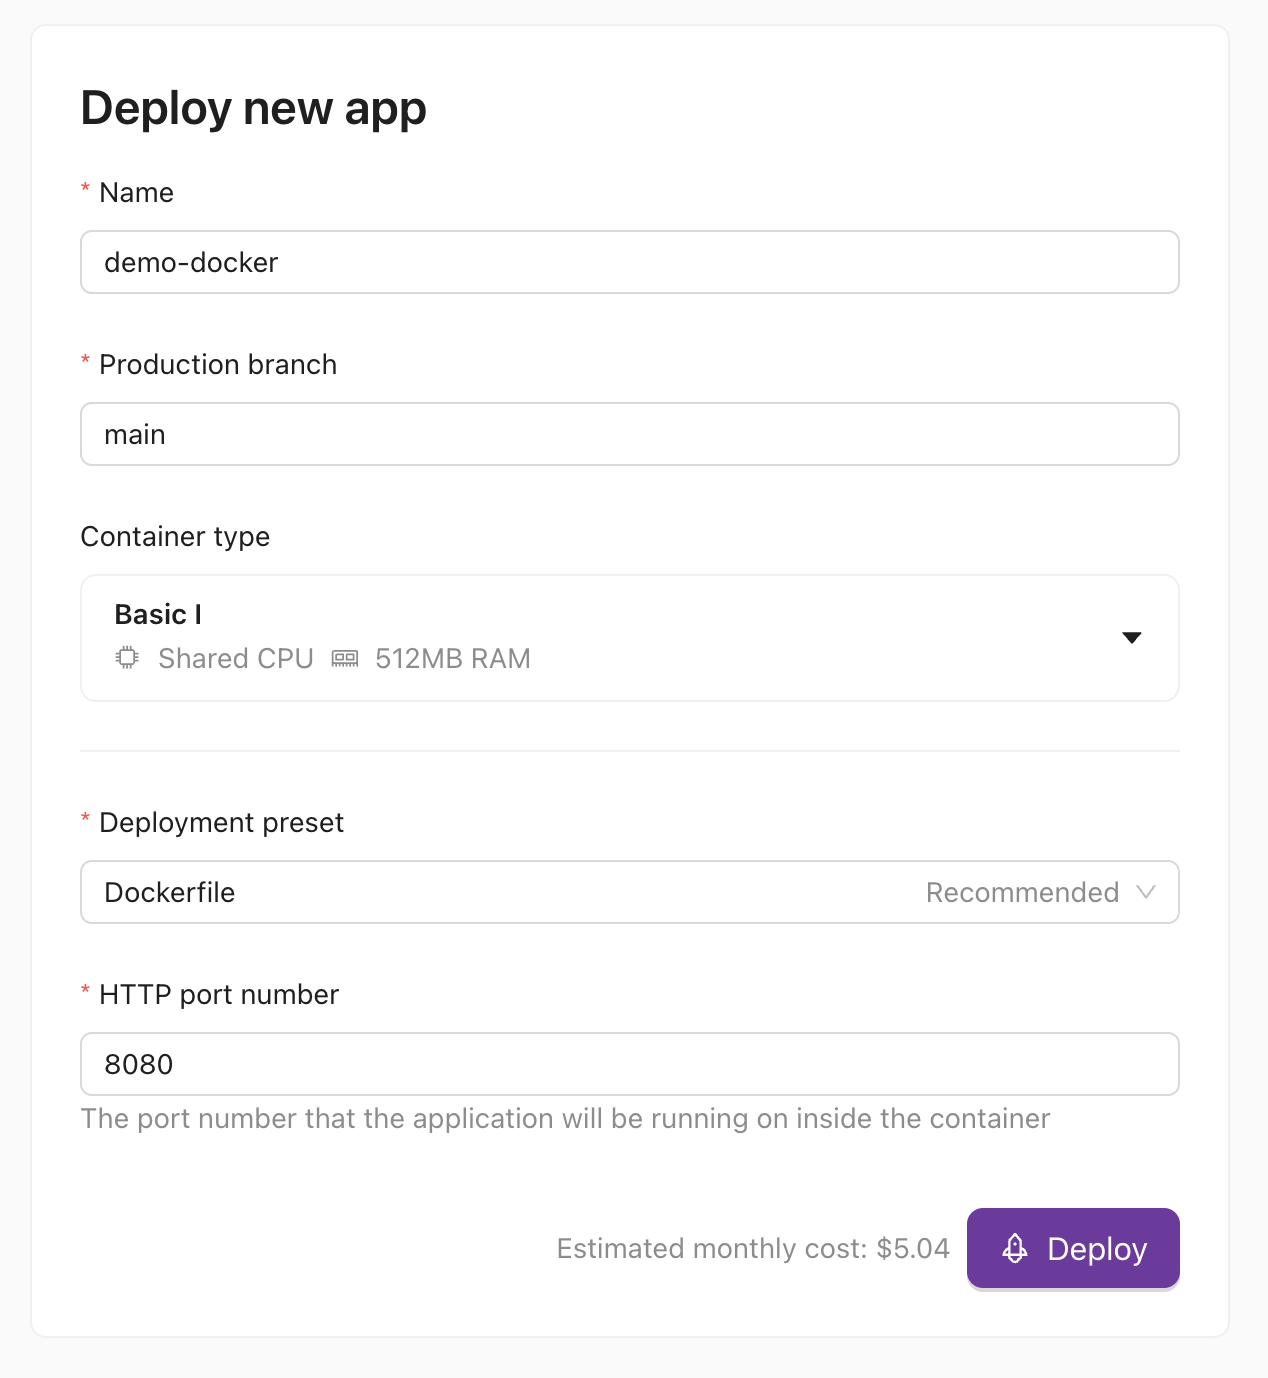
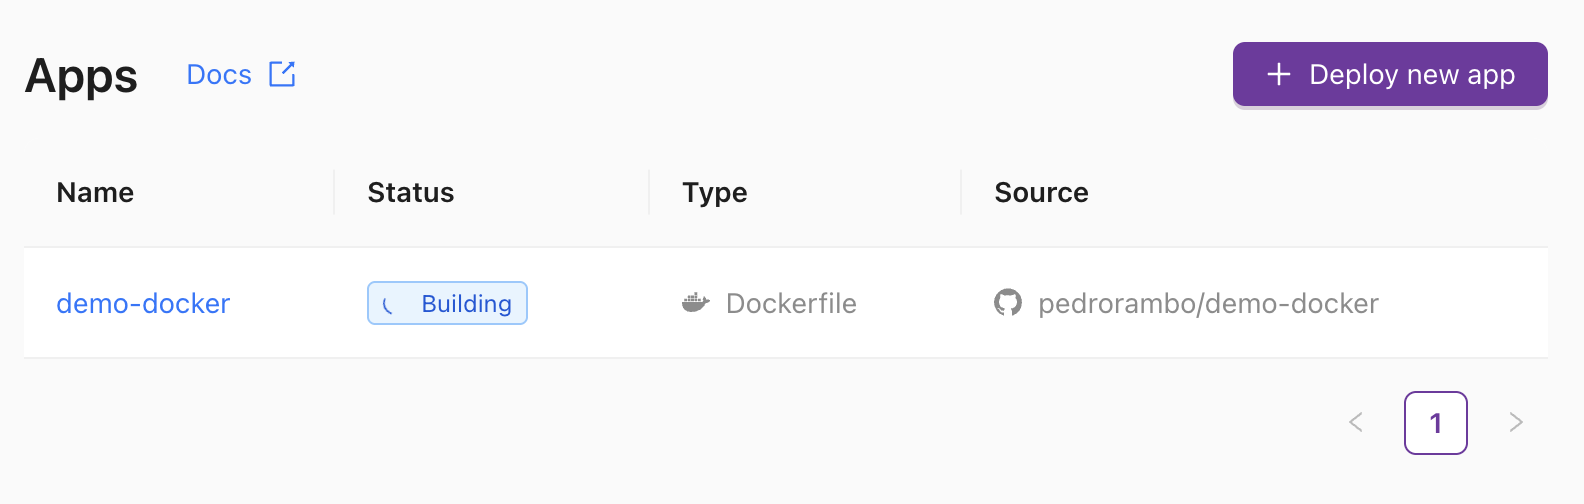
After clicking on deploy, our app will be built and deployed automatically in less than one minute.
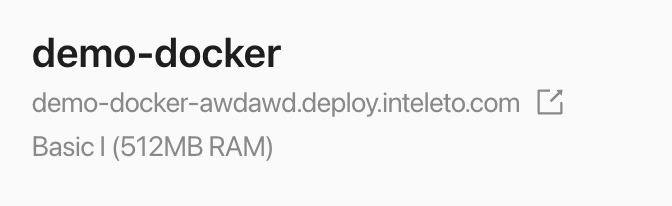
Result
After deployed, Inteleto will provide us a HTTPS endpoint with a free SSL certificate to try the app.
Now, our application is running in production with monitoring, logs, alerting and automatic deployments. You can already serve customers with that endpoint. If you want further configuration such as custom domains, scalability and environment variables, please refer to Inteleto’s documentation.
If you want to try it with your own application, you’re welcome to create your own account.